Today, we are going to cover a couple of additional techniques that we can use to achieve more realistic lighting in our 3D scenes. Going back to our first discussion of lighting, recall that thus far, we have been using per-pixel, Phong lighting. This style of lighting was an improvement upon the earlier method of Gourad lighting, by interpolating the vertex normals over the resulting surface pixels, and calculating the color of an object per-pixel, rather than per-vertex. Generally, the Phong model gives us good results, but it is limited, in that we can only specify the normals to be interpolated from at the vertices. For objects that should appear smooth, this is sufficient to give realistic-looking lighting; for surfaces that have more uneven textures applied to them, the illusion can break down, since the specular highlights computed from the interpolated normals will not match up with the apparent topology of the surface.
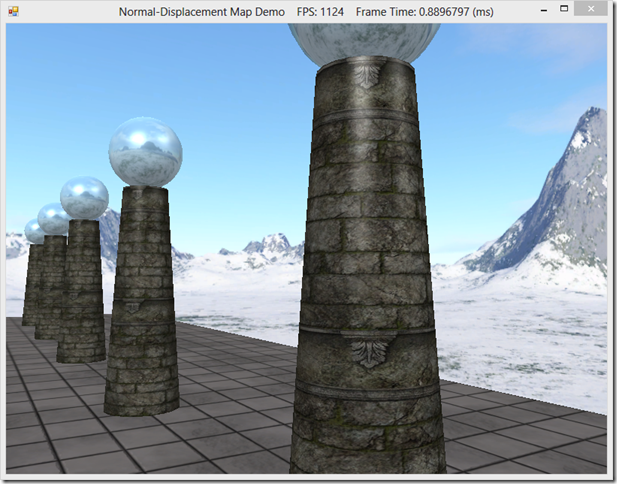
In the screenshot above, you can see that the highlights on the nearest column are very smooth, and match the geometry of the cylinder. However, the column has a texture applied that makes it appear to be constructed out of stone blocks, jointed with mortar. In real life, such a material would have all kinds of nooks and crannies and deformities that would affect the way light hits the surface and create much more irregular highlights than in the image above. Ideally, we would want to model those surface details in our scene, for the greatest realism. This is the motivation for the techniques we are going to discuss today.
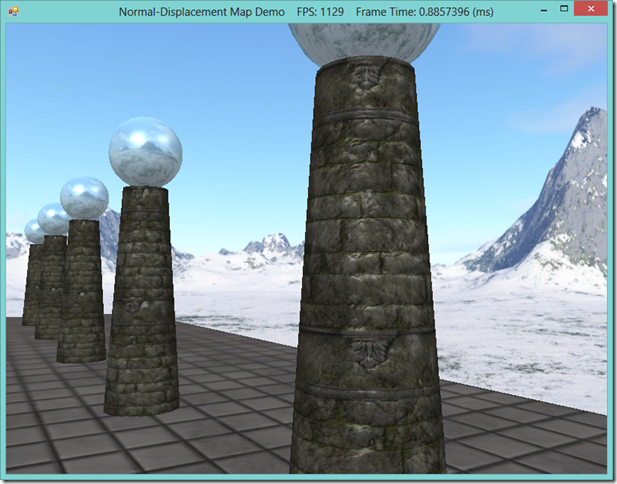
One technique to improve the lighting of textured objects is called bump or normal mapping. Instead of just using the interpolated pixel normal, we will combine it with a normal sampled from a special texture, called a normal map, which allows us to match the per-pixel normal to the perceived surface texture, and achieve more believable lighting.
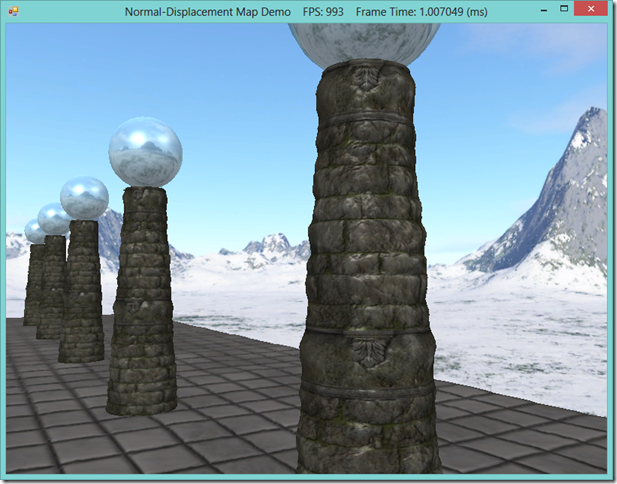
The other technique is called displacement mapping. Similarly, we use an additional texture to specify the per-texel surface details, but this time, rather than a surface normal, the texture, called a displacement map or heightmap, stores an offset that indicates how much the texel sticks out or is sunken in from its base position. We use this offset to modify the position of the vertices of an object along the vertex normal. For best results, we can increase the tessellation of the mesh using a domain shader, so that the vertex resolution of our mesh is as great as the resolution of our heightmap. Displacement mapping is often combined with normal mapping, for the highest level of realism.
This example is based off of Chapter 18 of Frank Luna’s Introduction to 3D Game Programming with Direct3D 11.0 . You can download the full source for this example from my GitHub repository, athttps://github.com/ericrrichards/dx11.git, under the NormalDisplacementMaps project.
NOTE: You will need to have a DirectX 11 compatible video card in order to use the displacement mapping method presented here, as it makes use of the Domain and Hull shaders, which are new to DX 11.


