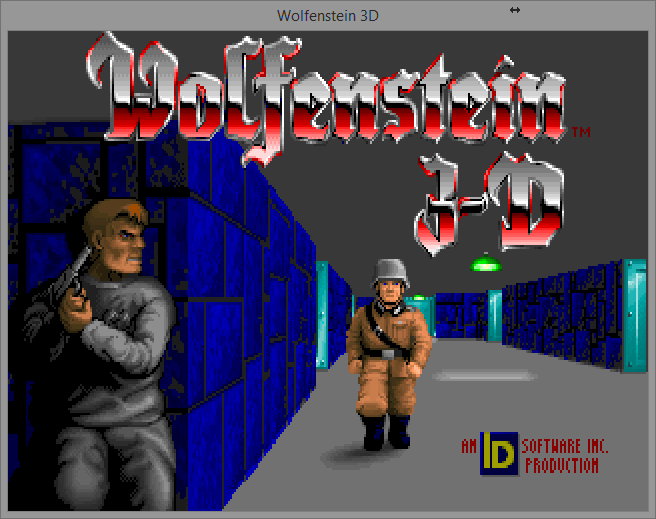
For the past few weeks, I've been once again noodling on the idea of starting a .NET port of a classic Id FPS. As a kid on my first computer, an off-brand 486 with DOS, I just hit the tail end of the good old days of shareware. And amongst all the floppy disks of kiddy and educational software and sliming Gruzzles couldn't really hold a candle to exploring Indiana Jones and the Last Crusade-esque Gothic castles and knifing Nazis.
While the original source-code for Wolfenstein 3D has been available for some time, it is a bit of a slog trying to wade through C code that was written 20 years ago, with near and far pointers, blitting directly to VGA memory, and hand-rolled assembly routines, let alone build the project successfully. Consequently, converting over to C# is a bit of a struggle, particularly for some of the low-level pointer manipulation and when loading in binary assets - it is very helpful to be able to step through both codebases side by side in the debugger to figure out any discrepancies.
Because of these difficulties, I have started looking at the Chocolate Wolfenstein 3D project, by Fabien Sanglard. Mr. Sanglard is a great student of the Id Software engine source code, and has done several very nice writeups of the different engines open-sourced by Id. He was even planning on writing a book-length analysis of Wolfenstein 3D, which hopefully is still underway. Chocolate Wolfenstein 3D is a more modernized C++ conversion of the original Id code, with some of the more gnarly bits smoothed out, and using SDL for cross-platform window-management, graphics, input, and sound. Even better, it can be built and run using current versions of Visual Studio.
The only problem I had with the Chocolate Wolfenstein 3D GitHub repository is that it is missing some dependencies and requires a small amount of tweaking in order to get it to build and run on Visual Studio 2013. These steps are not particularly difficult, but if you simply clone the repo and hit F5, it doesn't work right out of the box. If you are working on a Mac, there is a very nice guide on setting up the project in XCode, but I have not found a similar guide for Windows, so I decided to document the steps that I went through and share those here.

